A Beginner’s Guide to Soldering Electronic Boards
Posted by Siphesihle Hato in Uncategorized
Soldering electronic boards is a fundamental skill for anyone interested in electronics, allowing you to create, repair, and modify electronic circuits. Whether you’re a hobbyist, a student, or a professional, understanding the basics of soldering is essential. Here’s a guide to help you get started with soldering electronic boards.
- Understanding Soldering
Soldering involves joining electronic components to a printed circuit board (PCB) using a metal alloy called solder. This process creates a strong electrical connection, ensuring that the components function correctly within the circuit. The solder is melted using a soldering iron, which heats up to the necessary temperature to melt the solder without damaging the components.
- Essential Tools and Materials
Before you start soldering, gather the necessary tools and materials:
- Soldering Iron: Choose a soldering iron with adjustable temperature settings for more control.
- Solder: Typically, a tin-lead alloy or a lead-free alternative. Thin gauge solder (around 0.02 inches or 0.5 mm) is ideal for electronics.
- Soldering Stand: To safely hold the hot soldering iron when not in use.
- Sponge or Brass Wool: For cleaning the soldering iron tip.
- Desoldering Pump or Braid: For removing solder if needed.
- PCB Holder or Helping Hands: To hold the PCB steady while soldering.
- Safety Gear: Safety glasses and a well-ventilated workspace are essential to protect yourself from fumes and splashes.
- Preparing for Soldering
Preparation is key to successful soldering:
- Clean the PCB and Components: Ensure all parts are free from dust and oils. Use isopropyl alcohol and a lint-free cloth to clean surfaces.
- Tin the Soldering Iron Tip: Heat the iron and apply a small amount of solder to the tip. This process, called tinning, improves heat transfer and helps prevent oxidation.
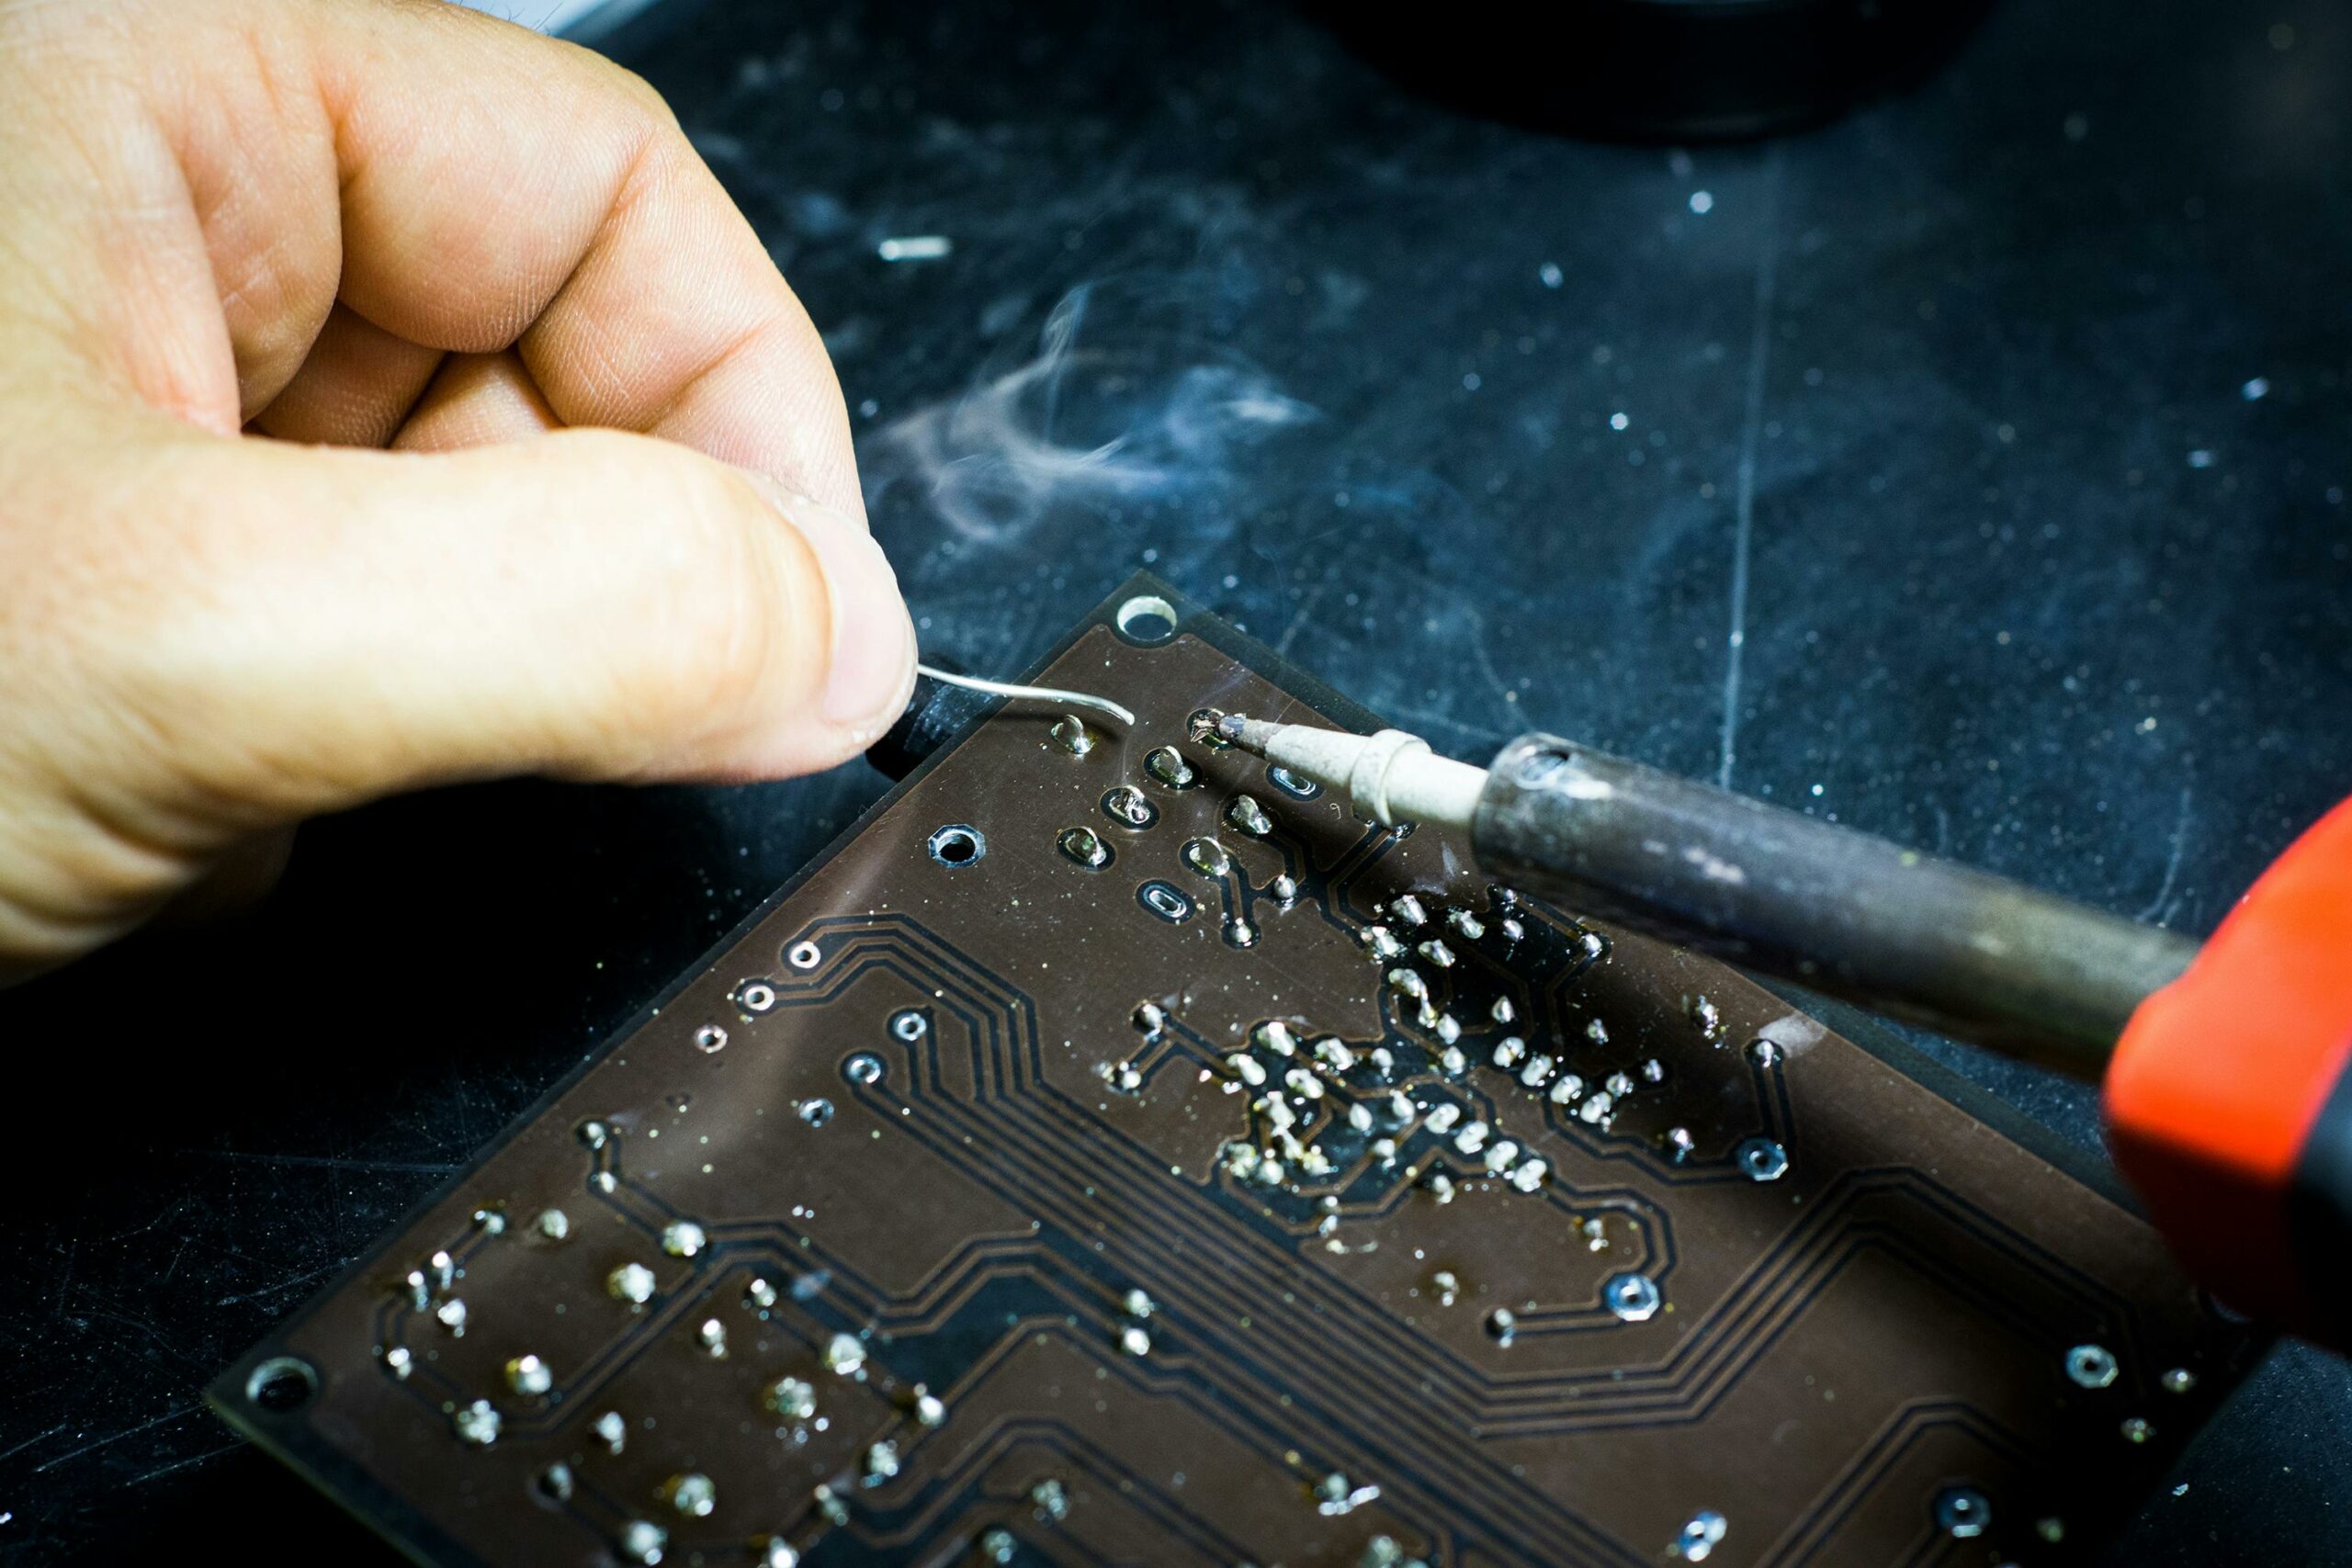
- Soldering Techniques
Follow these steps for effective soldering:
- Position the Components: Place the components on the PCB and bend the leads slightly to hold them in place.
- Heat the Joint: Touch the soldering iron tip to the joint where the component lead meets the PCB pad. Heat both the lead and the pad simultaneously for about 1-2 seconds.
- Apply Solder: While holding the soldering iron in place, touch the solder to the heated joint. The solder should flow smoothly around the lead and pad, forming a small, shiny mound.
- Remove the Soldering Iron: Once enough solder has flowed into the joint, remove the solder first and then the iron. Allow the joint to cool naturally without disturbing it.
- Inspect the Joint: A good solder joint should be shiny, smooth, and shaped like a small cone. If it looks dull, lumpy, or forms a ball, reheat and add more solder as needed.
- Troubleshooting Common Issues
- Cold Joints: These occur when the solder doesn’t fully melt, leading to weak connections. Reheat the joint and apply more solder if necessary.
- Bridges: Excess solder can create unintended connections between pads. Use a desoldering pump or braid to remove the excess solder.
- Component Damage: Overheating components can damage them. Work quickly and efficiently to avoid prolonged heat exposure.
- Practice Makes Perfect
Soldering is a skill that improves with practice. Start with simple kits or old circuit boards to build your confidence. As you become more comfortable, you can tackle more complex projects and repairs.
By mastering soldering techniques, you can effectively build and repair electronic boards, enabling you to create custom circuits and fix electronic devices. Remember to work safely, keep your tools in good condition, and continuously refine your skills for the best results.
Comments
Add comment